 |
||||||||
|
The Maine Adventure
|
||||||||
|
Project 13a: Preparing the New Building.... Project 13b: The New Building-The Farmhouse.... Project 13c: The New Building-The Barn |
|
|
Project 13c: The New Building-The Barn The Owner's Quarters |
|
|
The Owner's Quarters in the Homer Jones Barn building. |
|
| This was my first experience with a slate floor--very demanding and frustrating, but very beautiful when finished--with barnboard walls and with my own version of the painter's textured wall-plastering. See what you think. | |
|
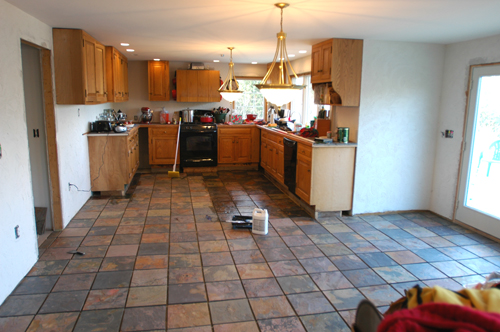
Finally, it was time to complete my own private kitchen! I searched the
Green Demolitions site in Norwalk, CT, where wealthy people who are
re-decorating, donate their kitchens....month after month. Nothing that
would quite work in my plan.
Then finally, a warm red oak kitchen with lots of cabinets came in, at the same time as I was bargaining for two large and elegant oak hutches for the upstairs kitchen and dining room. Perfect. A huge Penske truck would carry them all north. |
|
 |
|
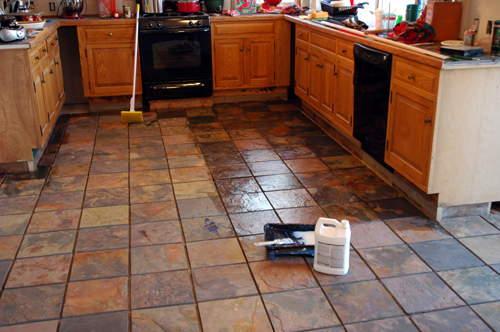
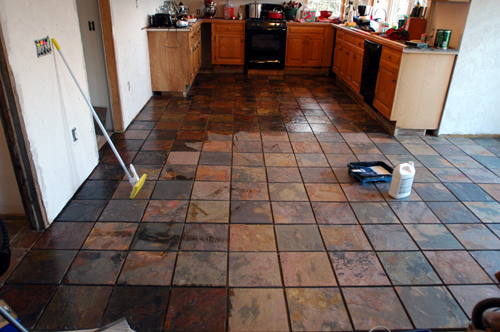
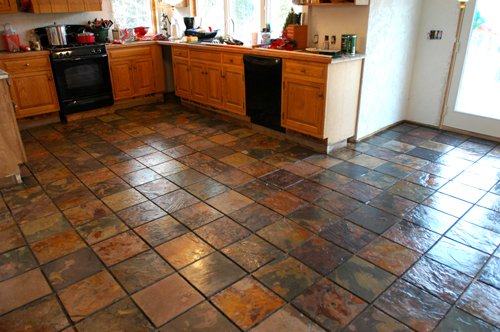
| The kitchen called out for more slate floors....oh my aching knees and back! But, again, they were worth the trouble. The color of the natural slate tiles is glorious, especially after covered with Behr's Wet Look Sealer. This is just after finishing the mortaring and first coat of sealing, before the grouting. | |
|
|
|
|
|
|
|
|
|
|
|
|
|
STUDIO WALL |
|
|
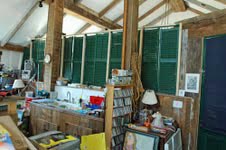
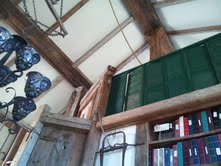
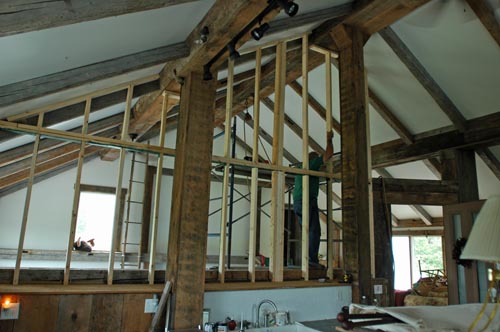
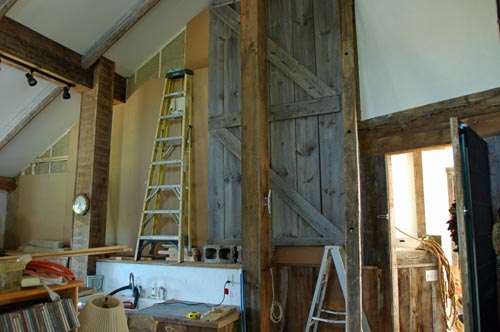
And the coolest of all projects was when we closed in the Studio
Wall...the wall between the Great Room and what was to become my
painting and jewelry studio.
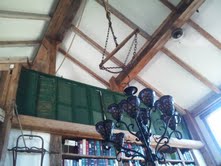
First, my next door neighbor/carpenter Matthew built a 56" stud wall and we devised a way to hang some great antique shutters for visual privacy. This did the trick for a year. |
|
 |
 |
|
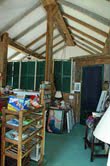
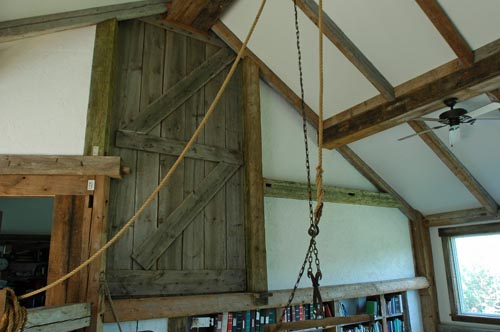
Here's how it looked from the Great Room.... |
|
|
|
|
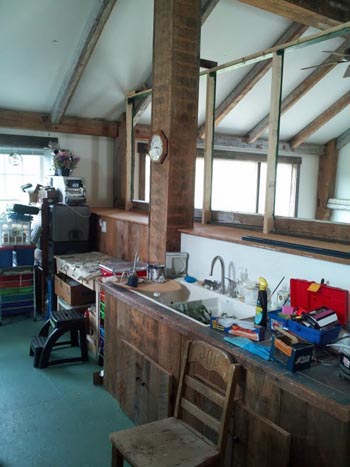
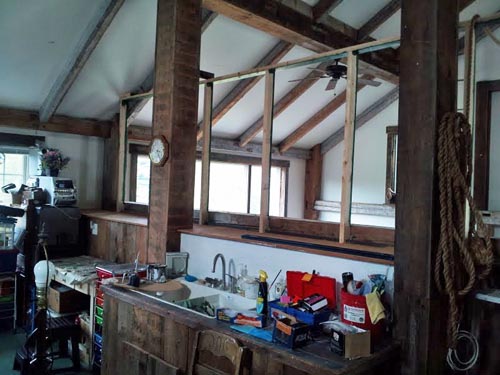
| Then it was time (and there was finally money) to make the wall soundproof....and I took down the shutters and put them away....who knows? They might have another use! | |
|
|
|
|
|
 |
|
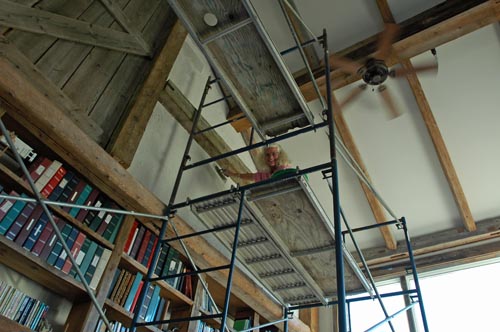
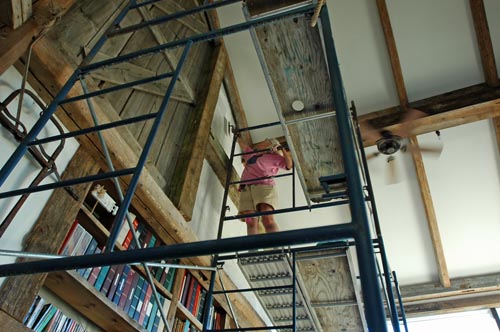
Then my dear friend and former GC Chris Harrington drove down, with his staging, to help with that momentous project. |
|
|
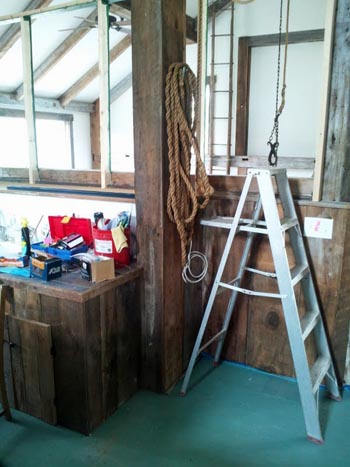
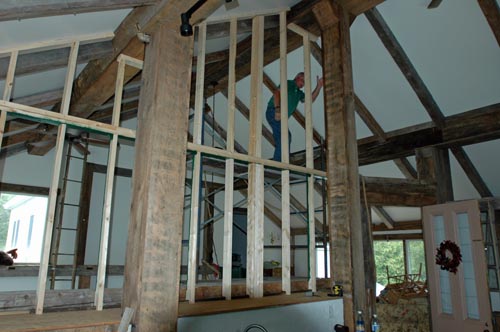
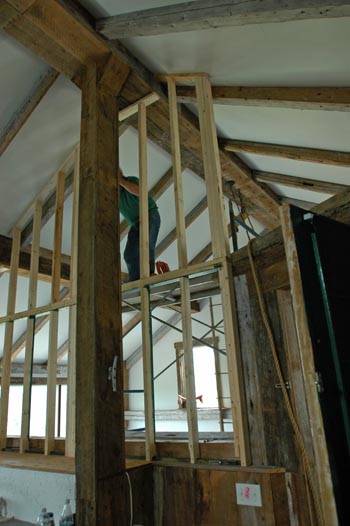
A full week later, with various falls and injuries and help from a
great new local handyman, we had the public side of the wall complete.
Here's how it went:
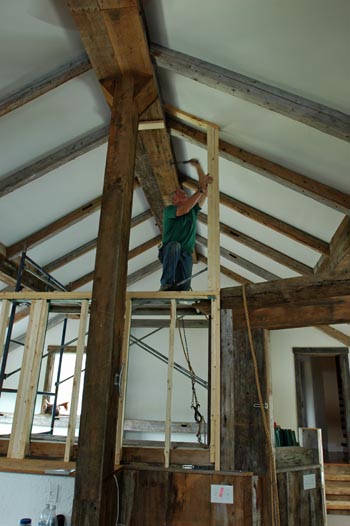
First, Chris strengthened the top plate on the existing wall, and measured for the studs and I cut them and he installed them. Once we had a really strong base, we began to do the same for the top half of the wall. |
|
|
|
|
|
|
|
|
|
|
|
|
|
| And between the heavy lifting times, which we couldn't have done without Ryan, he was building Autumn plant pots out of the plants I'd picked up at Moose Crossing. | |
|
|
|
|
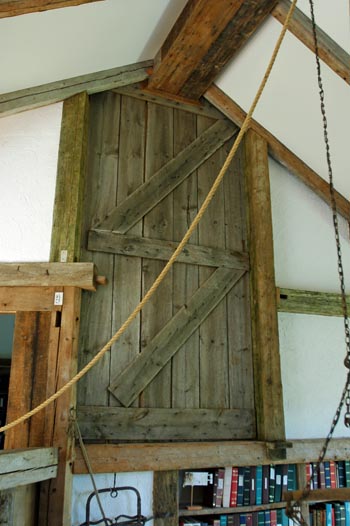
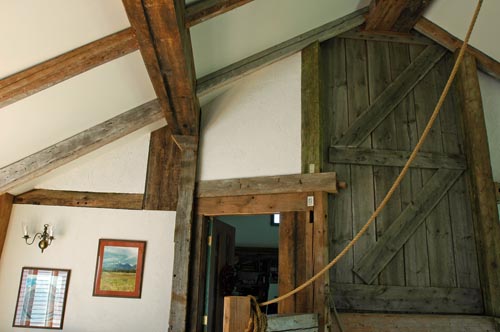
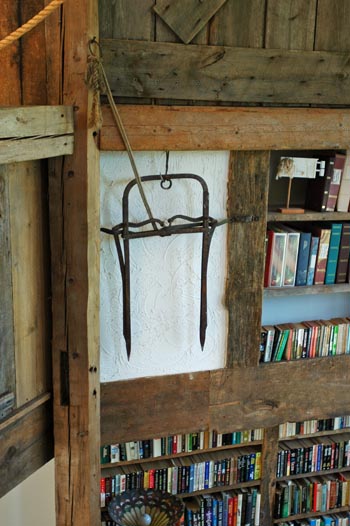
The three of us lifted the door
up the scaffolding and finally Ryan and I lifted it into place, while
Chris steadied from above....and then we all lifted the upright beam
(from the historic 200+ year-old Homer Jones barn) over the Gathering
Room railing and up the scaffolding and into place. Needless to say, I
was too busy lifting to take pictures, but here are the components: The barn door... and the cross beam timber...... |
|
 |
 |
| And the timber that went over the photographs, next to the door timber frame..... | |
|
|
|
|
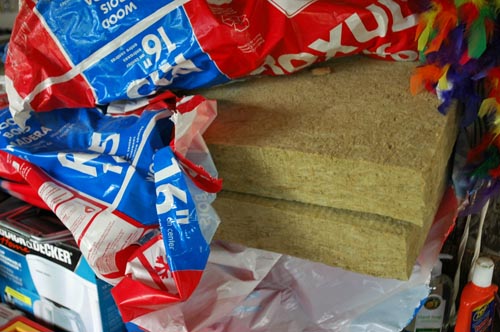
The walls are five layers thick....sheetrock or barn door, sound board,
insulation, sound board, sheetrock or barn door.
Solid insulation was first applied between the studs.... |
|
|
|
|
| ...then soundboard to deaden the sound that might have traveled through the ancient wood panels. Here is what it looks like on the Studio side of the wall....while still in the installation process... | |
 |
|
|
|
|
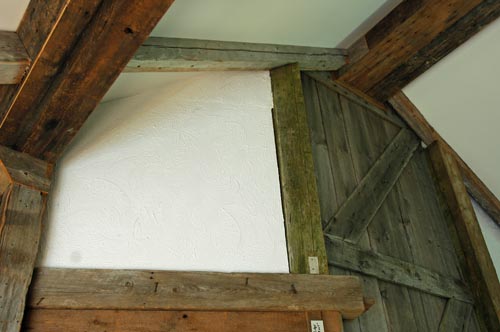
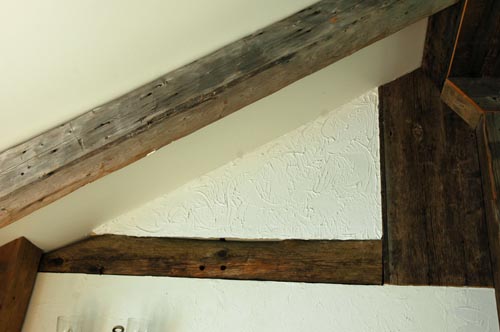
| Back to the Great Room side of the wall, sheet rock followed the sound board installation and Chris did the rough taping. And then it was time for me to do my "3D" mud effect on the sheet rock walls...this is a great stucco look that I've developed to go with the rustic timbers....and have used throughout the Owner's Quarters... | |
 |
|
|
|
|
| and I finished two wall spaces that hadn't been done earlier. | |
|
|
|
|
When the guests went off to paint the next morning, we got permission to finish the wall over the door....so Chris framed it in and I cut the soundboard and sheetrock...Chris installed and taped it and I did the "3D" lickety-split. |
|
|
|
 |
|
Phew! The public side, the Great Room side, is functional for the guests and privacy reigns. |
|
|
There's more to do on the Studio side, but Chris must head back to Denmark....to be continued.... |
|


|
Press here to
continue the Maine Adventure--- |